

Capturing Summer Sunsets: A Photographer's Guide to Golden Hour Magic
Introduction to the Golden Hour Phenomenon
Understanding the Golden Hour
The Golden Hour is a magical time for photographers. It's the period just after sunrise or before sunset.

During this time, the sun is low in the sky, creating a soft, warm light. This light bathes everything
in a golden glow, hence the name. The light is diffused and indirect, reducing harsh shadows. It's
ideal for capturing stunning images with a dreamy, ethereal quality. The Golden Hour typically lasts
about an hour, but its exact duration varies based on location and season.
Why Photographers Chase the Golden Hour
Photographers love the Golden Hour for many reasons. The warm, soft light enhances colors and textures.
It creates a flattering glow on subjects, especially in portraits. The low angle of the sun produces
long shadows, adding depth and dimension to landscapes. The Golden Hour offers versatility, suitable
for various photography styles. It's perfect for landscapes, portraits, nature, and urban scenes. The
unique lighting conditions during this time are hard to replicate artificially. This makes Golden Hour
shots stand out and adds a touch of magic to photos.
How to Harness the Magic of the Golden Hour for Your Photography
Best Times of Day for Golden Hour Shots
The best times for Golden Hour shots are just after sunrise and before sunset. In the morning, the

Golden Hour starts just before the sun rises and lasts about an hour after. In the evening, it begins
about an hour before sunset and ends when the sun dips below the horizon. The exact timing varies
depending on your location and the time of year. In summer, the Golden Hour tends to be earlier in the
morning and later in the evening. In winter, it's later in the morning and earlier in the evening.
Use apps or websites to calculate the exact Golden Hour times for your location.
Techniques and Gear for Golden Hour Photography
To make the most of Golden Hour, use the right techniques and gear. A tripod is essential for steady
shots in low light conditions. Wide-angle lenses are great for landscapes, capturing the broad sweep
of golden light. For portraits, a medium telephoto lens can create beautiful bokeh effects. Use a
low ISO setting to reduce noise in your images. Experiment with different apertures to control depth
of field. A polarizing filter can enhance colors and reduce glare. Consider using graduated neutral
density filters to balance exposure between sky and land.
Tips for Capturing the Warm Glow
To capture the warm glow of Golden Hour, adjust your white balance. Use the 'Cloudy' or 'Shade'
setting to enhance the warm tones. Experiment with backlighting to create silhouettes or rim lighting
effects. Look for reflective surfaces like water or windows to capture interesting light patterns.
Don't be afraid to underexpose slightly to preserve the rich colors of the sky. Use the rule of
thirds to create balanced compositions. Include interesting foreground elements to add depth to your
images. Be patient and take multiple shots as the light changes rapidly during Golden Hour.
Real-World Applications: Golden Hour Photography Success Stories
Showcasing the Golden Hour in Various Genres
Golden Hour lighting enhances various photography genres:
- Landscape: Golden light adds warmth and depth to scenic vistas.
- Portrait: Soft light flatters subjects, creating a warm, inviting look.
- Wildlife: Animals are often more active during these hours, in beautiful light.
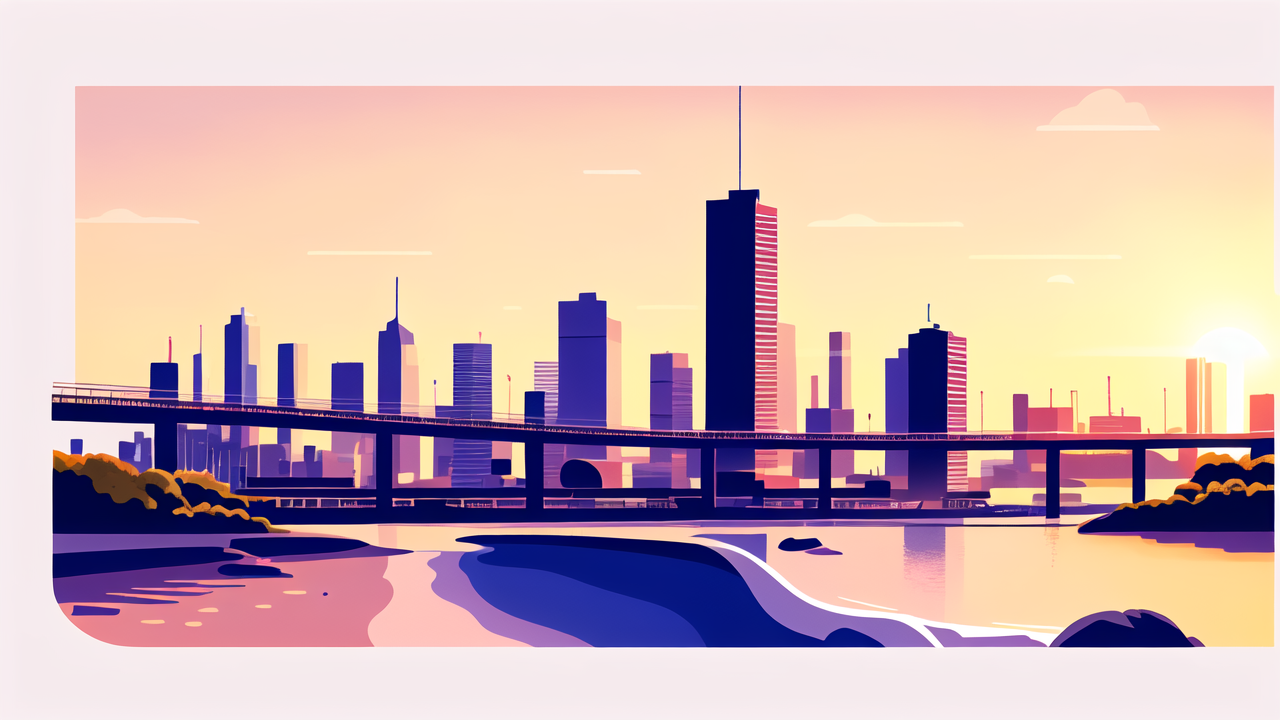
- Urban: City scenes take on a magical quality in golden light.
- Beach: Coastal scenes benefit from long shadows and warm tones.
- Wedding: Couples love the romantic glow of Golden Hour portraits.
Each genre benefits from the unique qualities of Golden Hour light. The warm tones and soft shadows
create a mood that's hard to achieve at other times of day. Many iconic images in these genres were
captured during the Golden Hour, showcasing its versatility and appeal.
How Professional Photographers Maximize the Golden Hour
Professional photographers have strategies to make the most of Golden Hour:
- Plan ahead: They scout locations and plan shots in advance.
- Be prepared: They arrive early to set up equipment and test settings.
- Work quickly: They know the light changes fast and shoot efficiently.
- Use assistants: Extra hands help with gear and lighting setups.
- Embrace imperfection: They're ready to adapt if conditions aren't ideal.
- Post-processing: They enhance Golden Hour effects in editing.
Pros often schedule shoots specifically during Golden Hour. They understand its value and plan their
day around these crucial moments. Many build their portfolios and styles around mastery of this
magical light.
Learning from Others: Advanced Tips and Techniques
Advanced photographers share these tips for Golden Hour success:
- Use apps to track sun position and plan shots.
- Experiment with lens flare for creative effects.
- Try long exposures to capture movement in the golden light.
- Use fill flash to balance foreground and background exposure.
- Bracket exposures to capture a wider dynamic range.
- Look for complementary colors to the golden tones.
- Use leading lines to draw the eye into the golden scene.
- Experiment with different perspectives and compositions.
These techniques can elevate your Golden Hour photography. They help capture the unique qualities of
this special light. Practice and patience are key to mastering these advanced methods. Remember, each
Golden Hour is unique, offering new opportunities to create stunning images.
In conclusion, the Golden Hour offers photographers a chance to capture truly magical images. Its
warm, soft light enhances colors and creates a dreamy atmosphere. Whether you're a beginner or a pro,
understanding and harnessing this light can transform your photography. With practice and the right
techniques, you can create stunning images that showcase the beauty of Golden Hour. So grab your
camera, head out at sunrise or sunset, and start capturing the magic of the Golden Hour!